It's been awhile again. I really need to get on here more than I have been. Hopefully now that school has started and we are all getting into our school routine I can find some more time to create and share with you.
Today I want to share how simple and easy it can be to add detail to your pages using what's left from a page of stickers. I finally finished this sheet of stickers and was about to throw it in the trash when I thought I might be able to use it to create a mask for a scrapbook page.
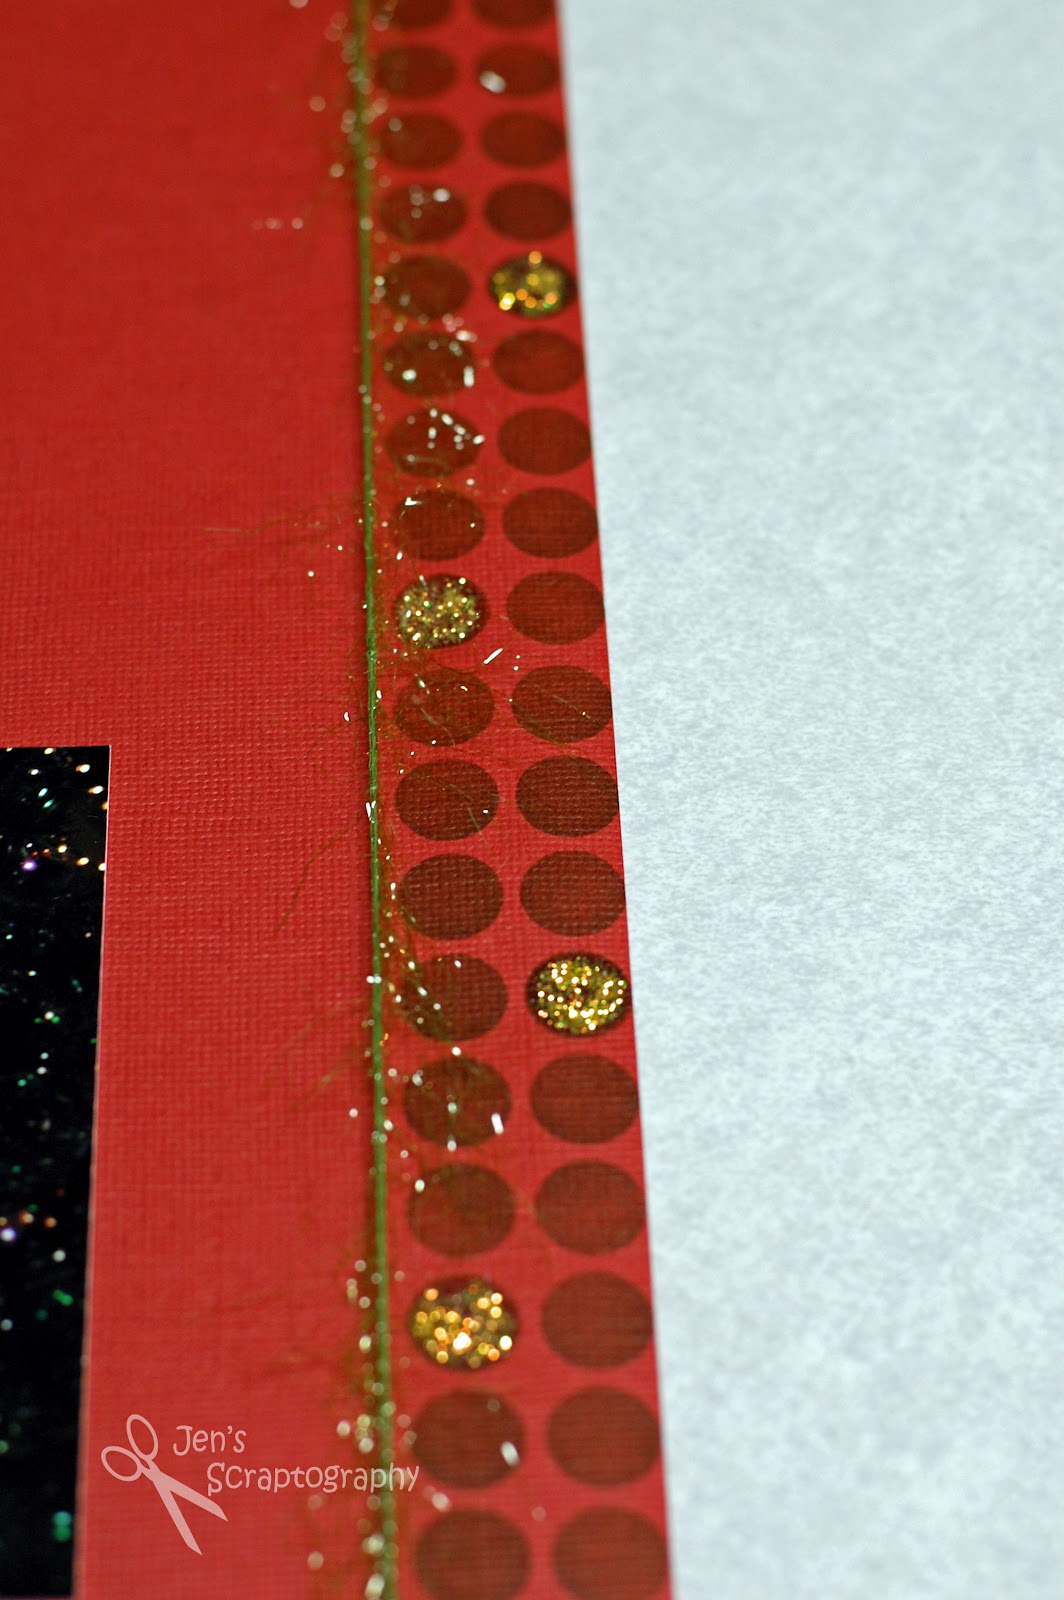
I first cut the sheet so that I had a row of two circles. I then stuck this to my page (these stickers aren't too sticky so I knew they'd peel off easily). After the rows were stuck on I used a blending tool and some Tim Holtz Distress Ink to color in the circles. After I peeled it off I had a great row of circles. After adding Stickles to a few and some fiber this is what I had.
What an easy and simple way to add to your page without spending a dime. It turned out even better than I hoped it would. Using this border I drew up a quick sketch. I love using sketches but don't usually create my own. It was surprisingly easy and made making my tree embellishment super easy because I knew exactly what size to cut out the triangles.
I used two different patterned papers to make my tree by cutting out three different sized triangles. After cutting them out (using my Cricut) I inked them using some more Tim Holtz Distress Ink. Using some pop dots I adhered them to my page and now I had a great custom embellishment.
Here is the completed page. Sorry for the weird lighting. This one just didn't photograph well. I think I was in a hurry too when taking the picture.
I hope this gets your brain thinking about what things you have laying around your craft area that you could use on your layout. I'd love to hear your ideas. Thanks for stopping and I hope you look before you throw away.
Supplies:
cardstock: misc
patterned paper: Close to My Heart (Days to Cherish), misc
ink: Tim Holtz Distress Ink (Walnut Stain, Forest Moss)
title: Pressed Petals chipboard letters (Chip Chatter Tall- Spring Green), rubons
pen: Creative Memories (finetip black)
tools: i-rock, Cricut (George and Basic Shapes), sticker mask
other: Stickles by Ranger (Diamond Stickles), fibers, pop dots, glue dots, Xyron Create a Sticker