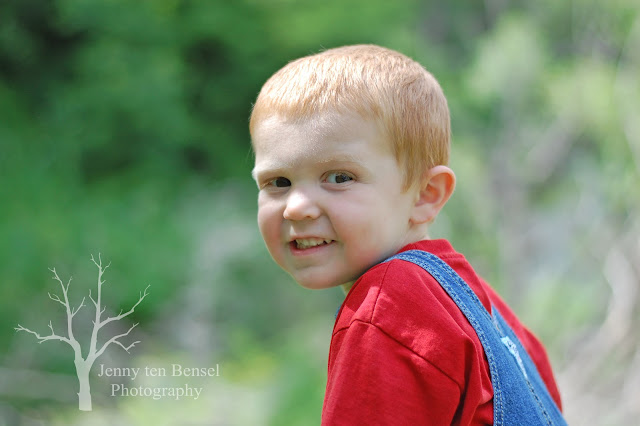
My youngest son, Geoff, turned three last month and here are my favorites from our little photo shoot. He is such a happy little guy. He loved going to the park without his brothers for his 'pictures'. He did a great job too. Thanks for stopping by and enjoy!!
Sunday, May 27, 2012
Thursday, May 10, 2012
How to...
make a circle scalloped border!
While I was waiting for my new American Crafts Knockout Punch to arrive I really wanted to add a scalloped border to a page I was working on. I have some scalloped scissors but they weren't the right size so I decided to go with the punched circle scallop border. The great thing about this technique is almost everyone has some sort of circle punch or die cutting machine to make this with.
First punch or cut out the size circles you want from your desired cardstock.
For my title I cut the banner from a sheet of pattern paper that came in this collection. I first stamped the letters with white ink hoping they would show up. When they weren't as clear as I liked I stamped them again with blue ink on the leftover pieces from cutting out the banner. I then punched out the colored middle and adhered them right over the white stamp. Now I have custom letters that stand out. Just remember there are no mistakes only room for embellishments (not sure who said this but I love it)!
While I was waiting for my new American Crafts Knockout Punch to arrive I really wanted to add a scalloped border to a page I was working on. I have some scalloped scissors but they weren't the right size so I decided to go with the punched circle scallop border. The great thing about this technique is almost everyone has some sort of circle punch or die cutting machine to make this with.
First punch or cut out the size circles you want from your desired cardstock.
Next add adhesive on the edge you want the scalloped border on and adhere the circles. If you are using double sided paper make sure that the paper you want showing is being stuck down to the adhesive. You can either eye ball lining the circles up or line them up using a cutting mat like I did.
Once all your circles are attached flip your paper over and ta-da!! A scalloped border!! Super easy and so fun. Use your imagination and use different colors to make a unique pattern or different size circles for a different look. The possibilities are endless.
Some other fun things from this layout. Why buy fancy embellishments when you can make your own? Using glitter, glimmer mist, and dimensional adhesive I made this sand castle embellishment that almost looks like I bought it at the store. Think dimension and bling when cutting out images on your Cricut or other diecutting machine and you can make your embellishments really pop too!
For my title I cut the banner from a sheet of pattern paper that came in this collection. I first stamped the letters with white ink hoping they would show up. When they weren't as clear as I liked I stamped them again with blue ink on the leftover pieces from cutting out the banner. I then punched out the colored middle and adhered them right over the white stamp. Now I have custom letters that stand out. Just remember there are no mistakes only room for embellishments (not sure who said this but I love it)!
Here is my finished layout. I just love how it turned out.
The left page.
The right page.
I hope you enjoyed this fun technique. More borders, pictures, and a great tip for those children's cartoon characters our kids love so much coming up. Thanks for stopping!!
Supplies:
- patterned paper: Fancy Pants Designs, Inc. (Beach Bum collection)
- cardstock: kraft, white, and misc scraps
- Cricut cartridges: Create a Critter (sand castle), Boys Will be Boys (pail and shovel)
- ink: Close to My Heart (White Daisy, Moonstruck)
- stamps: Close to My Heart (Circle Around, Typewriter Keys)
- glitter: Recollections (Garnet)
- Glimmer Mist: Tattered Angels (Tattered Leather)
- tools: circle punches (EK Success), Perfect Layers
- misc: adhesive, dimensional adhesive
Monday, May 7, 2012
Bubbles and Bokeh!!
There's no better way to spend an afternoon with your friends than blowing bubbles! Not only did the boys and their friend have fun but I got to play around with focusing and bokeh (blur). To get this fun blurred effect use a shallow depth of field (low f-stop) and have your subject hold something out in front of them. Focus on the object and hopefully the object will be in focus and your subject will be slightly blurred! This is just a fun way to change up your photos and give them a little more interest. All of these photos were taken at 50 mm, 1/250th at f/4.5, ISO 200. Thanks for stopping and go have some fun playing with bokeh!
Subscribe to:
Comments (Atom)


