This could be a record for me. Three blog posts in one week! I have been creating a lot so I want to share as much as I can. Not every week will be this filled with sharing but I do hope to continue to create on a more regular basis.
Today's post is a little different. I don't normally make Valentine's Day cards but since it's coming up I wanted to share some fun card ideas. I also wanted to challenge myself using my Cricut and that's where today's post arose. Using my Cricut and the Wild Card cartridge I wanted to see how many cards I could make using only these two shapes: a heart cluster and a heart frame. I actually created 5 cards using only these two diecuts! Let me show you what I came up with.
These first two cards are very similar and I had the idea for these when I chose my shapes to cut. I lightly adhered the heart cluster to my card base and sprayed it lightly with Glimmer Mist. This gave me a sprayed heart cluster to use on one card and a blank cluster on the card I sprayed on.
I then grabbed a stamp and heat embossed it using clear embossing powder. I then sprayed over both sentiments (one lightly and one heavily) to get the different looking effects. I also cut them differently and dry embossed one of the cards. I covered the heart cluster on the left card with Glossy Accents to add some dimension. Two simple cards from one diecut.
This next card is my personal favorite that I created. I took all of the heart shapes (there were four sizes in all) and inked each one a different shade of pink/red creating an ombre effect. I then stitched them to the front of a piece of cardstock and adhered this to my card base. A cute sentiment in the corner and this card is done.
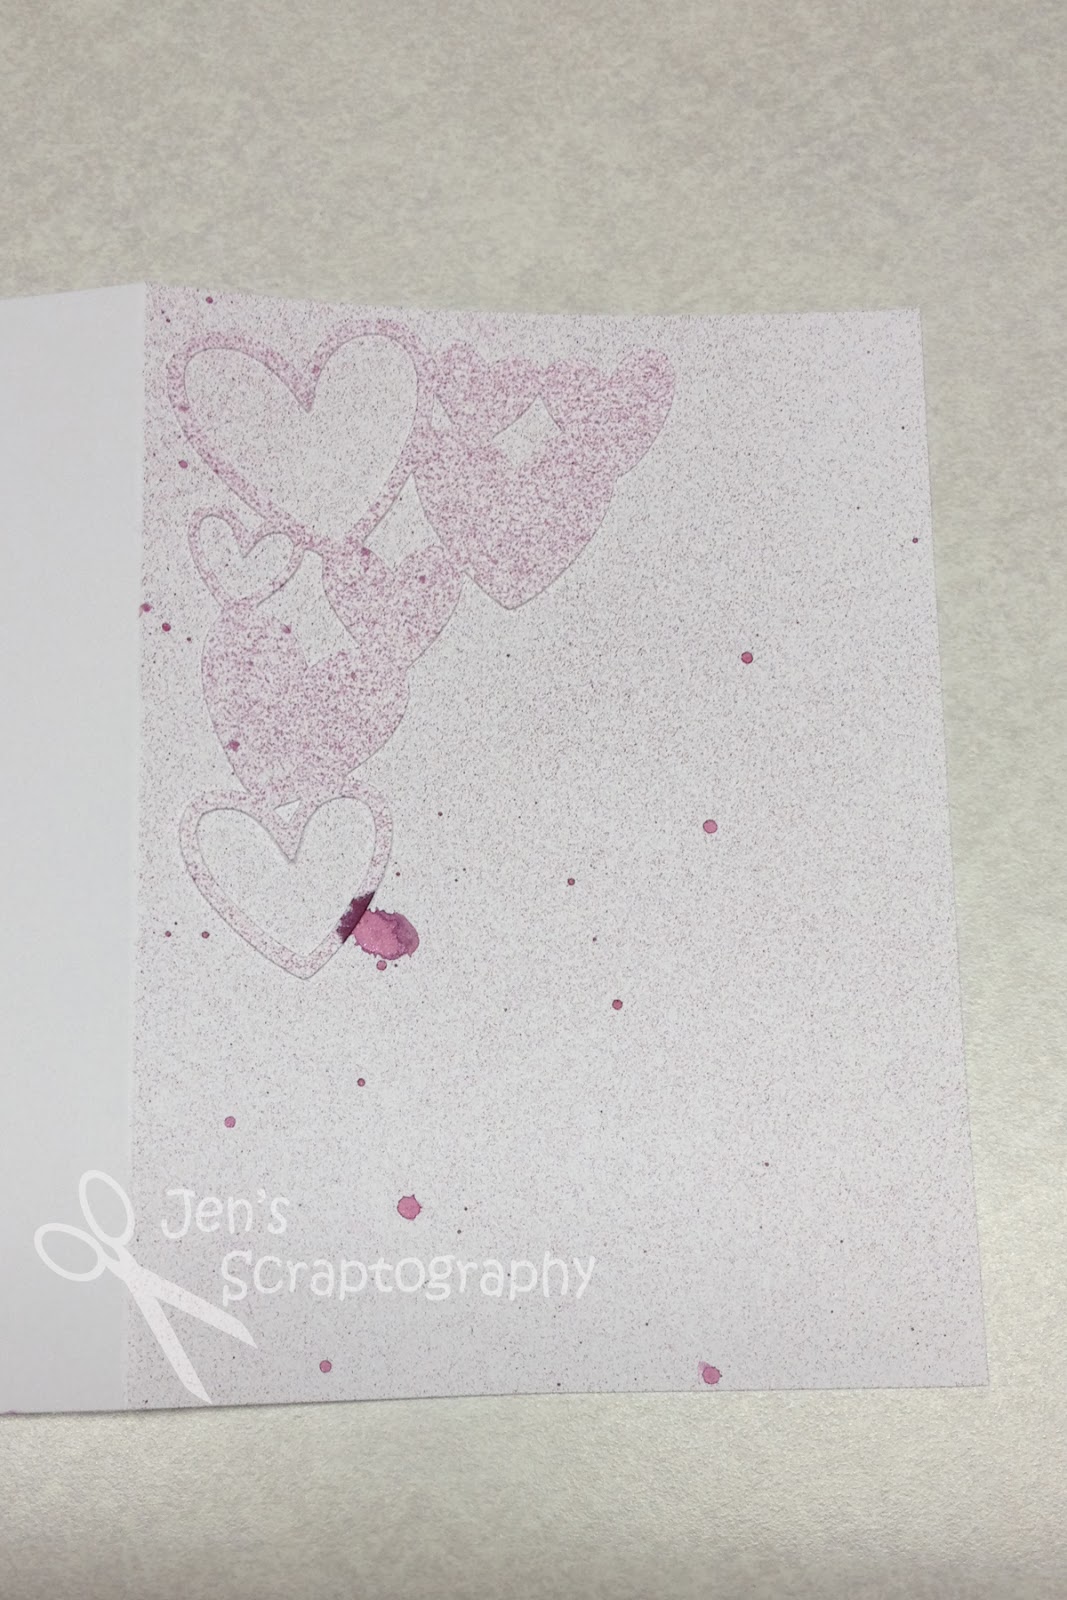
For the next card I actually used the piece of paper that I cut the shapes from as a stencil.
I started by sponging a heart in the center of my paper with my darkest purple ink. I then moved my 'stencil' and inked a heart on either side of the dark heart with the next lightest color of ink. I moved the 'stencil' again and inked hearts in the lightest color of ink. I just love that ombre look. I added some punched border strips, a sentiment, and some white dots with my gel pen and card four is complete!
This last card is my husband's favorite. I stamped and embossed the dancing figures on the right side of a piece of cardstock using a mask to cover my sentiment area. I also stamped and embossed the sentiment. I then sponged over the whole piece with Tattered Rose and Aged Mahogany Distress Ink. After wiping the ink off the stamped image I cut the piece down to fit on a card base and added a piece of spare ribbon. I also stitched on the heart frame to highlight my sentiment. I adhered this to the card base and it's finished!
So there you have it. Five different cards using only two different shapes from my Cricut! This was a fun challenge for me. I love that I only had to cut shapes once and was able to create five cards. It's always fun to think out of the box. I hope you'll try this the next time you are in a creative mood. Thanks for stopping.
Supplies:
- cardstock- misc
- stamps- Close to My Heart (Seasonal Celebration D1112), Hero Arts (CL582), Uptown Rubber Stamps (Spiral Love), Paper Inspirations (Vertical Romance)
- inks- Tim Holtz Distress Ink (Tattered Rose, Spun Sugar, Worn Lipstick, Picked Raspberry, Barn Door, Aged Mahogany, Victorian Velvet, Milled Lavender, Dusty Concord), Memories Dye Inkpad (Black), Versamark (Watermark)
- Cricut cartridge- Wild Card
- embossing powder- Ranger (Holographic, Super Fine Clear)
- tools- We R Memory Keepers (Sew Easy), American Crafts (Knock Outs border punch)
- embossing folder- Cuttlebug (Polka Dots)
- misc- dimensional adhesive, Ranger (Glossy Accents), Tattered Angels (Glimmer Mist-Cranberry Zing), Signo Broad pen (White), ribbon


No comments:
Post a Comment