I have another plaid card for you today. Have I told you how much I LOVE this stamp set?! It is so fun to use. Today's card is a card I made for my dad for his birthday. I needed a one layer card so that I could easily send it in the mail. Here is what I came up with.
Let me share how I made this card. I knew that I wanted an area to stamp my sentiment amid all of the plaid. I also wanted to try a new technique so I stamped the paint splatter where I wanted it on my card base with Versamark ink, covered it with clear embossing powder, and heat set it.
Next, I used some masking paper (you could also you post it notes) to section off the piece of the card that I wanted to be plaid. Using some Tim Holtz Distress Ink I inked the whole area inside the masking paper. This gives me a color to build my plaid on and will also let the ink splatter show through in the final steps.
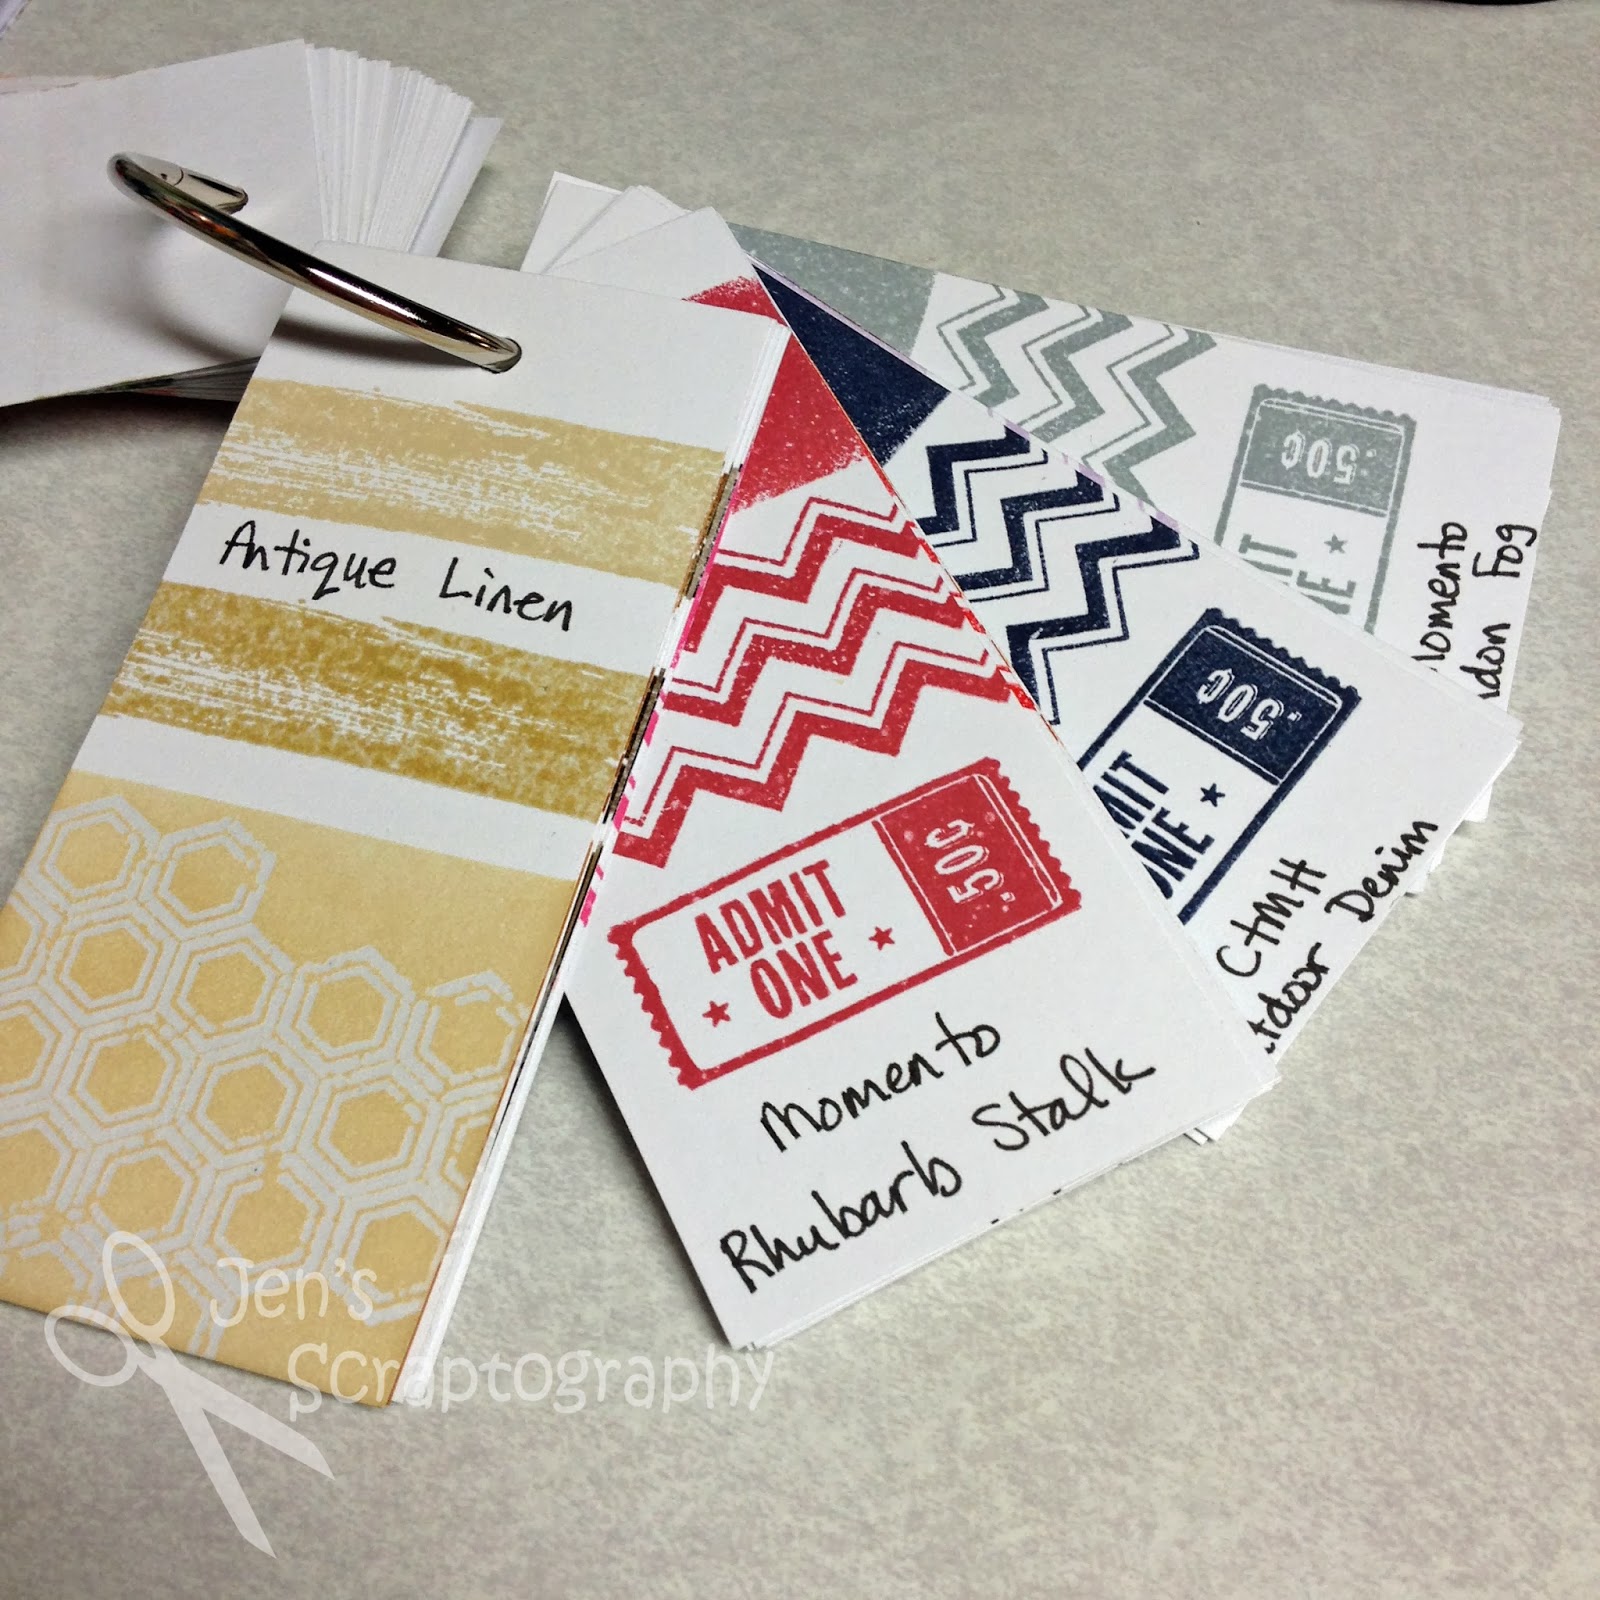
I then selected my ink colors and decided which plaid stamps to use. Since this is going to my dad I wanted masculine colors. I love the look of red, navy, and grey so these were the colors I chose. I recently made this ink swatch ring and absolutely love it!! It makes matching colors so easy. I'll share soon how I made this and why I have two different types of cards on it.
Then it was time to start stamping. I started with the grey and made diagonal stripes all along the card where I wanted them. You could also do vertical or horizontal stripes but I love the look of the diagonal stripe.
Once those stripes were in place I got out my next colors and stamped them along the top and bottom of the grey stripe. This created my 'pattern' for the card. It was so easy to line up the second and third colors because I already had the grey stripes down. Using clear blocks also make this super easy.
Once the pattern is complete it's time to turn the paper and do the same steps the opposite way.
Your final image should be a great plaid pattern.
Now comes the fun part. Using a baby wipe I wiped the ink off of the embossed paint splatter. I then used my iron to remove the embossing powder to leave my paint splatter just paper. To do this just take a sheet of plain paper and set it over your embossed image. Using an iron set on a medium setting go over the paper. The iron will heat the embossing powder and it will stick to the plain paper making the image that you embossed the original paper again! What a fun technique. Because this paint splatter was a little distressed some of the ink went through but that is totally OK. I love the way it looks.
Now you can remove your masking paper and see what your card looks like. This is my favorite part! I'm always amazed at how awesome it looks.
Then I stamped the sentiment in the blank area (using StazOn ink just in case any embossing powder remained) and my card is done!
I hope you enjoyed this fun one layer card. Thanks for stopping!
Supplies:
- ink- Tim Holtz Distress Ink (Antique Linen), Close to My Heart (Outdoor Denim), Momento Dew Drop Ink (Rhubarb Stalk, London Fog), Tsukineko StazOn (Jet Black), Versamark (Watermark)
- stamps- Close to My Heart (Seasonal Celebrations D1112), My Favorite Things (Plaid Background Builder), Hero Arts (Brush Strokes)
- embossing powder- Ranger (Super Fine Clear)
- misc- masking paper


That is totally cool! Thank you for posting the directions as I can hardly wait to try it.
ReplyDelete